Blade Kerf Cutting Guide
Learn what blade kerf means, why it matters in a cut list, and how including it in your planning can reduce waste, prevent shortfalls, and improve accuracy across timber and sheet goods jobs.
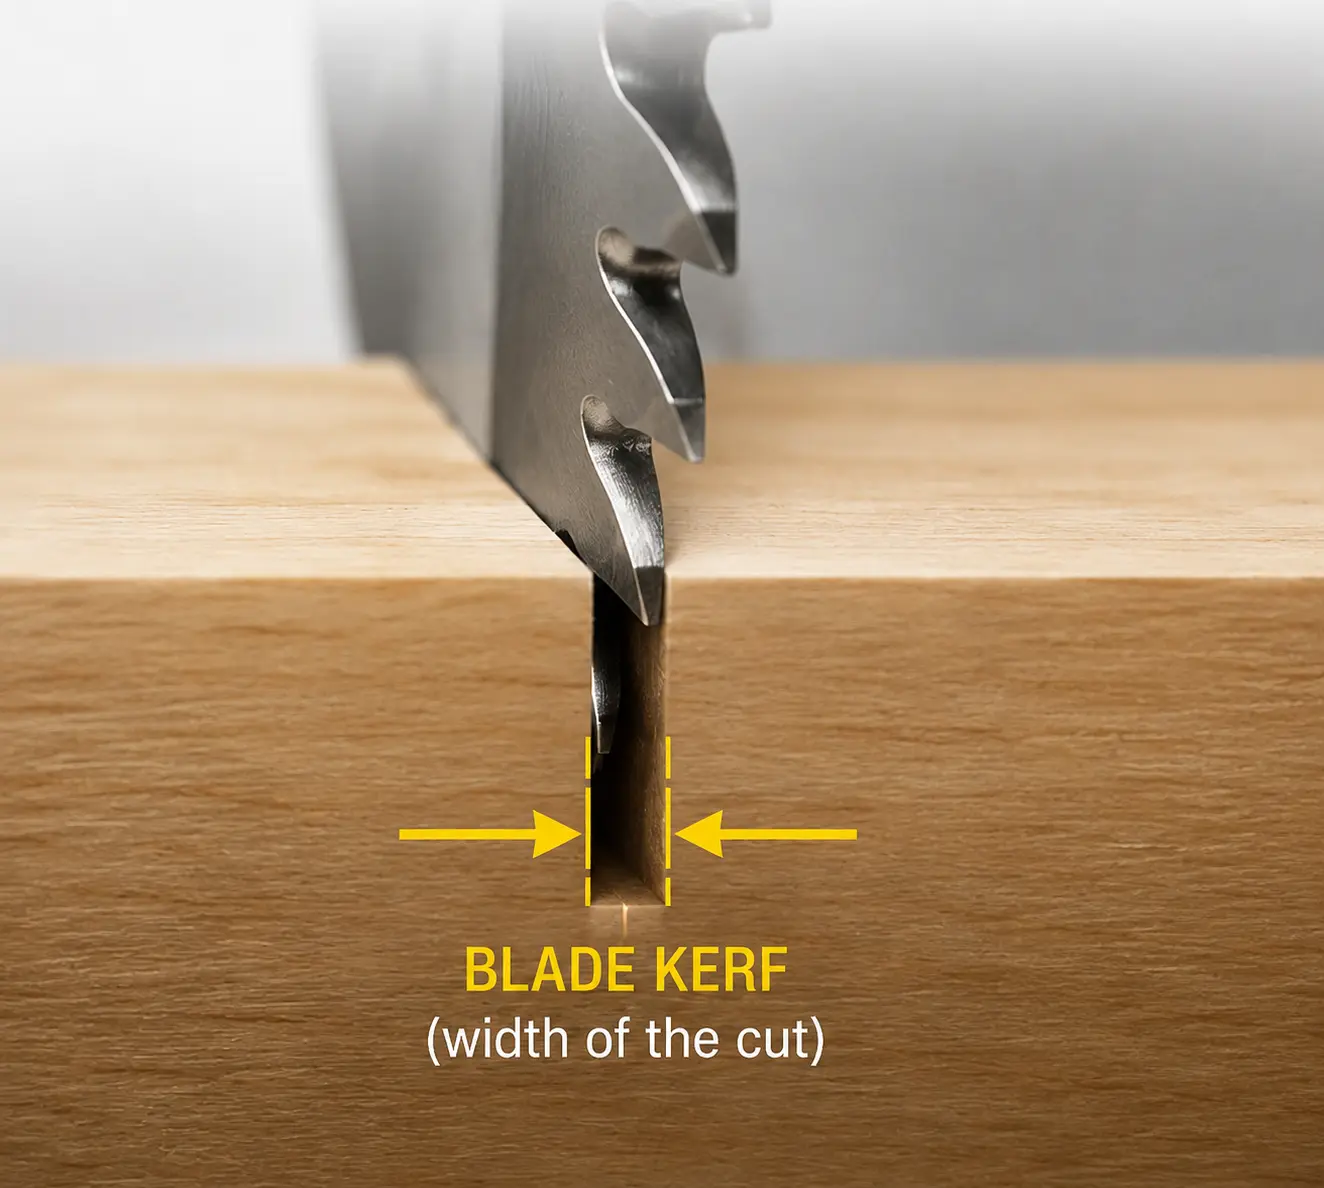
What Blade Kerf Means
Blade kerf is the width of material removed by the blade when you make a cut. In simple terms, every cut turns a small strip of your timber or sheet material into sawdust. The cut does not just separate the material: it consumes some of it.
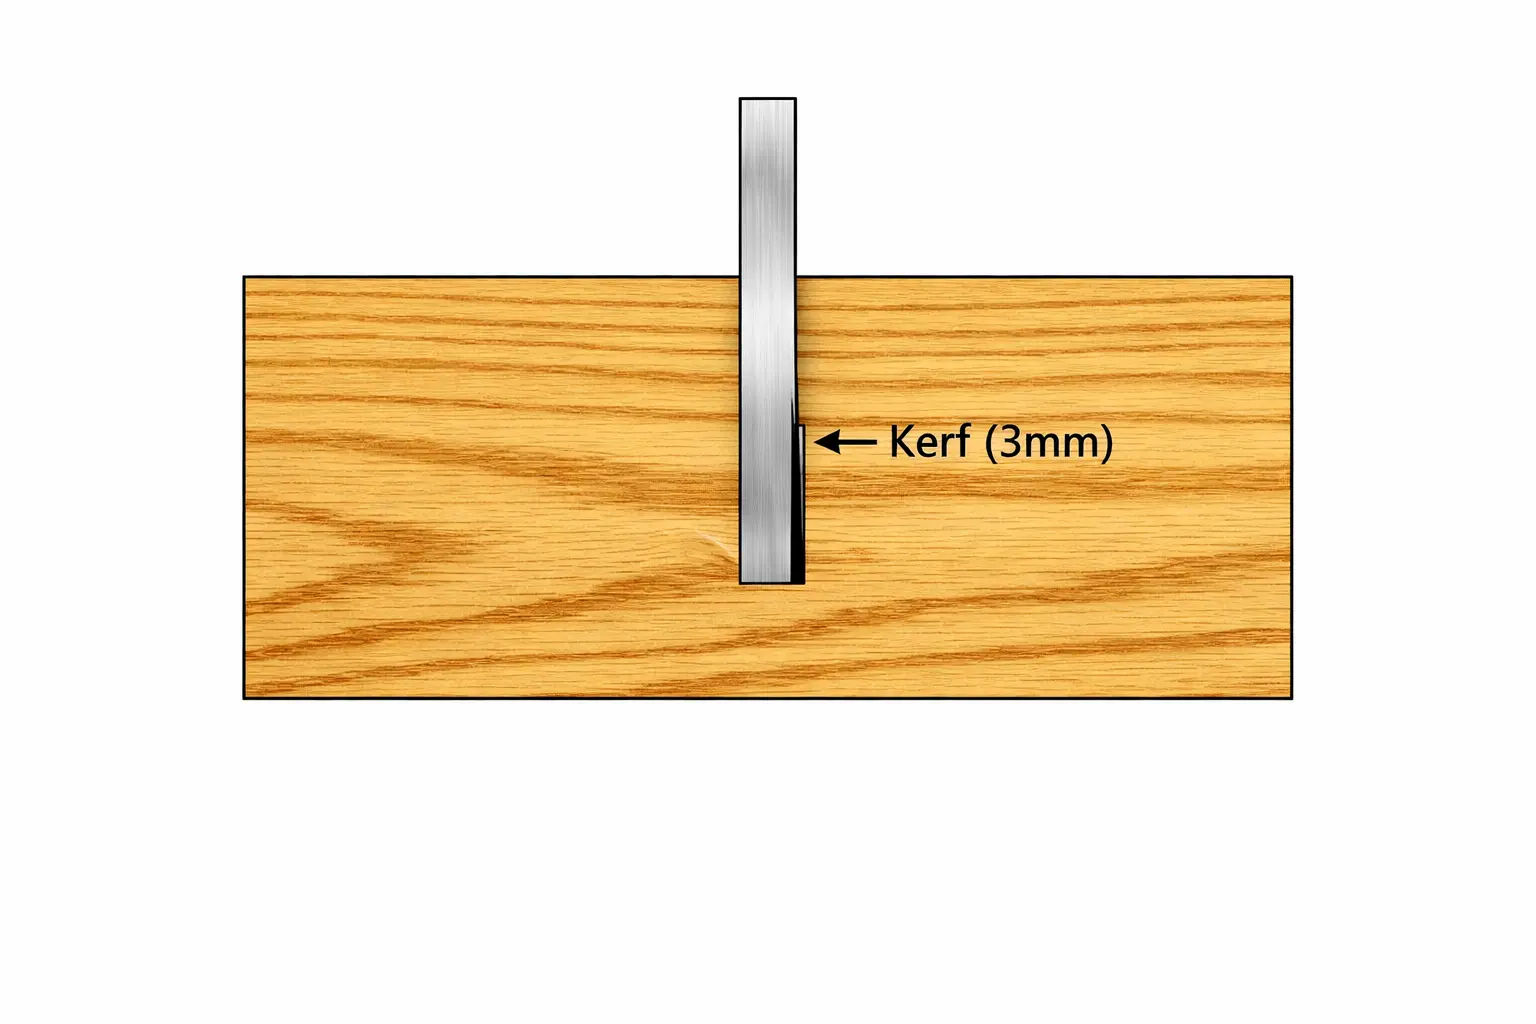
The kerf width depends on the type of blade and the tool used. A standard circular saw blade is typically 2–3mm wide. A table saw blade is usually around 3mm. A thin-kerf blade, designed to reduce waste and require less motor power, is typically 1.5–2mm. A handsaw or tenon saw produces roughly 1–2mm of kerf.
That means the more cuts you make, the more total material is lost. If your plan ignores kerf, it can look correct on paper but fail in the workshop.
Typical Kerf by Saw Type
- Standard circular saw blade: 2.0–3.2mm per cut
- Thin-kerf circular saw blade: 1.5–2.0mm per cut
- Table saw (standard blade): 2.5–3.2mm per cut
- Jigsaw: 1.0–2.5mm per cut (varies by blade width and tooth set)
- Handsaw / tenon saw: 1.0–2.0mm per cut
- Track saw (plunge saw): 2.0–2.8mm per cut
- Band saw: 0.5–1.5mm per cut (narrowest of common shop saws)
If you are unsure of your exact kerf, 3mm is a safe default for circular saws and table saws. For track saws used in plywood breakdown, 2mm is typical. For precision work, measure your kerf directly on a piece of scrap.
How to Measure Blade Kerf
The most reliable way to know your kerf is to measure it directly rather than relying on a manufacturer specification, because blade wear and tooth set can affect the actual cut width.
- Take a piece of scrap timber or sheet material, ideally the same species or material you will be cutting on the job.
- Make a single straight cut through the scrap using the saw and blade you will use for the project.
- Measure the width of the slot left behind using a steel rule or, for greater accuracy, a digital vernier caliper.
- That measurement is your kerf. Enter it in the cut list optimiser before running the plan.
Re-measure if you change the blade, change the saw, or change the material type, as kerf can vary between materials even on the same blade.
Why Kerf Matters in a Cut List
- Every cut removes material from the stock.
- Multiple cuts accumulate into a meaningful loss of usable length or sheet area.
- Ignoring kerf makes a cutting plan appear more efficient than it really is.
- Realistic planning prevents shortfalls and avoids last-minute extra purchases.
Timber is expensive enough that even small planning errors can cost money. If accounting for kerf helps you avoid buying extra stock or wasting a few lengths unnecessarily, the optimiser can pay for itself on a single job.
Kerf Across a Full Job: A Worked Example
Consider a stud wall frame where you need to cut 18 pieces from 4.8m CLS timber, using a circular saw with a 3mm kerf. Each length requires two cuts to get the studs to size.
- Total cuts: 18 × 2 = 36 cuts
- Kerf per cut: 3mm
- Total material lost to kerf: 36 × 3mm = 108mm
- That is over 100mm (more than two full cuts) of timber consumed by the blade alone.
On a cut plan that ignores kerf, all 18 pieces might appear to fit within three 4.8m lengths. Once kerf is included, the same plan might require a fourth length. Discovering this in the workshop, rather than at the planning stage, means an extra trip to the supplier or a delay waiting for delivery.
Kerf on Sheet Goods vs Timber
Kerf matters for both timber lengths and sheet goods, but the effect is slightly different in each case.
For linear timber, kerf reduces the usable length available from each stock piece. If you are cutting 2,300mm studs from a 4,800mm length, each cut takes 3mm from the usable remainder. With enough cuts, a length that appeared to yield two pieces may only yield one.
For sheet goods, kerf affects both the width and the length of usable area depending on which direction the cut runs. A rip cut down a 2440mm plywood sheet loses 3mm of width. A crosscut loses 3mm of height. When you are fitting multiple parts tightly onto a board, these losses can push a part off the edge of the sheet and require an additional board.
In both cases, the remedy is the same: enter the correct kerf value before running the optimiser.
How to Use Kerf Properly in Planning
- Measure or confirm the blade kerf for the saw and blade being used.
- Enter that kerf into the cut list optimiser before running the plan.
- Use realistic stock sizes based on what your supplier actually sells.
- Review the output for purchase totals, waste, and reusable offcuts.
- If the kerf changes (because you change blade or saw), re-run the plan with the updated value.
Frequently Asked Questions
- What is blade kerf? The width of material removed by the saw blade during a cut, typically 2–3mm for a circular saw.
- Why does kerf matter? Because every cut removes material, and ignoring that loss leads to inaccurate plans and potential shortfalls.
- How much kerf does a circular saw produce? Usually 2–3mm per cut, depending on the blade. Thin-kerf blades are 1.5–2mm.
- How do I measure kerf? Make a test cut in scrap material and measure the slot width with a rule or calipers.
- Does kerf matter for sheet goods too? Yes. Kerf removes material on every cut regardless of whether it is timber or plywood, and should be included in both timber and sheet goods plans.